Searing a steak on a gas grill can be a bit daunting, but it doesn’t have to be. With the right technique, you can achieve that perfect sear and juicy, tender meat that will leave your taste buds singing. One key to this process is using a searing burner, which can help you get that crusty exterior without overcooking the inside. In this article, we’ll go over step-by-step instructions on how to use a searing burner on a gas grill to perfectly sear a steak. So, fire up your grill, grab your tongs, and let’s get cooking! Let’s dive in and check How to Use a Searing Burner on a Gas Grill.
Cooking a steak on a gas grill with a searing burner is a great way to impress your friends and family with your grilling skills. A perfectly seared steak not only looks beautiful, but it also has a flavor and texture that can’t be beaten. Whether you’re a seasoned griller or a beginner, using a searing burner can take your steak to the next level. By following these step-by-step instructions, you’ll be able to confidently use your gas grill’s searing burner to create a delicious and juicy steak that everyone will love.
Grilling is one of the most popular cooking methods, especially during the summer months. While grilling is often associated with burgers, hot dogs, and other grilled favorites, it’s also a great way to cook a steak. But if you want to take your steak to the next level, you need to learn how to sear it properly. And that’s where a searing burner comes in.
A searing burner is a high-heat burner found on some gas grills. Its purpose is to sear meat quickly and efficiently, creating a caramelized crust on the outside of the meat while keeping the inside juicy and tender. In this article, we’ll discuss how to use a searing burner on a gas grill to perfectly sear a steak.
Step 1: Preheat Your Grill
The first step in using a searing burner on a gas grill to perfectly sear a steak is to preheat your grill. Preheating your grill is essential because it ensures that your grill reaches the desired temperature for searing your steak. This step can take anywhere from 10 to 15 minutes, depending on your grill’s size and heat output.
When preheating your grill, it’s important to turn all of the burners on high and close the lid. This will help to create a high-heat environment inside the grill, which is necessary for searing your steak. Once your grill has reached the desired temperature, you’re ready to move on to the next step.
Step 2: Season Your Steak
While your grill is preheating, it’s time to season your steak. There are many different ways to season a steak, but one of the simplest and most delicious ways is to use salt and pepper. Salt helps to enhance the flavor of the meat, while pepper adds a bit of heat and complexity to the flavor.
When seasoning your steak, it’s important to use kosher salt and freshly ground black pepper. Kosher salt has larger grains than table salt, which allows it to adhere better to the surface of the meat. Freshly ground black pepper also has more flavor than pre-ground pepper, which can lose its flavor over time.
To season your steak, simply sprinkle both sides of the meat with salt and pepper, and then press the seasoning into the meat with your hands. This will help to ensure that the seasoning sticks to the meat and doesn’t fall off when you’re cooking it.
Step 3: Place Your Steak on the Grill
Once your grill is preheated and your steak is seasoned, it’s time to place your steak on the grill. The goal is to place your steak on the hottest part of the grill, which is typically the searing burner. If your grill doesn’t have a searing burner, place your steak over the hottest burner on the grill.
When placing your steak on the grill, it’s important to use tongs instead of a fork. Using a fork to flip your steak can puncture the meat, which can cause it to lose its juices and become dry. Tongs, on the other hand, allow you to flip your steak without puncturing it.
Step 4: Sear Your Steak
Now it’s time to sear your steak. Searing a steak involves cooking it at a high temperature for a short period, which creates a caramelized crust on the outside of the meat while keeping the inside juicy and tender.
Depending on the thickness of your steak and how well-done you like it, sear your steak for 1-3 minutes per side. It’s important to remember that searing your steak is only the first step in cooking it. After searing, you will need to move your steak to a cooler part of the grill to finish cooking it. If your grill has a warming rack, this is the perfect place to move your steak. If not, simply move your steak to a cooler part of the grill.
Step 5: Finish Cooking Your Steak
After searing your steak, it’s time to finish cooking it. Depending on the thickness of your steak and how well-done you like it, you will need to cook it for an additional 3-10 minutes.
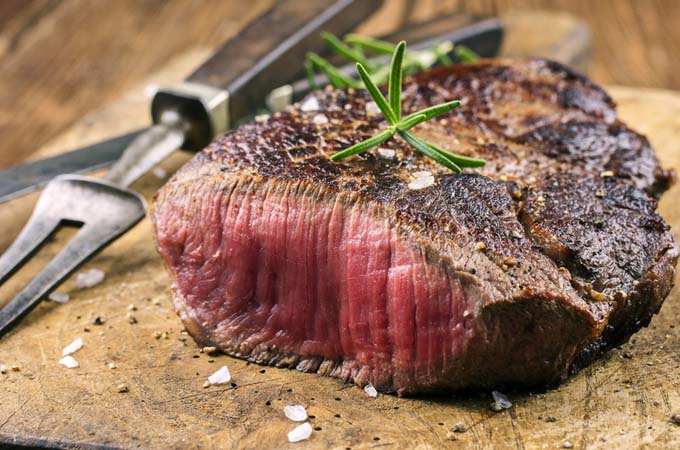
To check the doneness of your steak, use an instant-read meat thermometer. Insert the thermometer into the thickest part of the steak. For a rare steak, the internal temperature should be 125°F. For medium-rare,
the internal temperature should be 135°F. For medium, the internal temperature should be 145°F. For medium-well, the internal temperature should be 150°F, and for well-done, the internal temperature should be 160°F.
It’s important to remember that the internal temperature of your steak will continue to rise after you take it off the grill. This is called carryover cooking, and it can increase the internal temperature of your steak by 5-10°F. To prevent your steak from overcooking, it’s best to remove it from the grill when it’s 5-10°F below your desired internal temperature.
Step 6: Let Your Steak Rest
Once your steak is done cooking, it’s important to let it rest for a few minutes before slicing into it. This allows the juices in the meat to redistribute, which helps to keep your steak juicy and flavorful.
To let your steak rest, remove it from the grill and place it on a cutting board. Cover it loosely with aluminum foil and let it rest for 5-10 minutes. During this time, avoid cutting into your steak or poking it with a fork. This can cause the juices to escape, which can make your steak dry.
Step 7: Slice and Serve
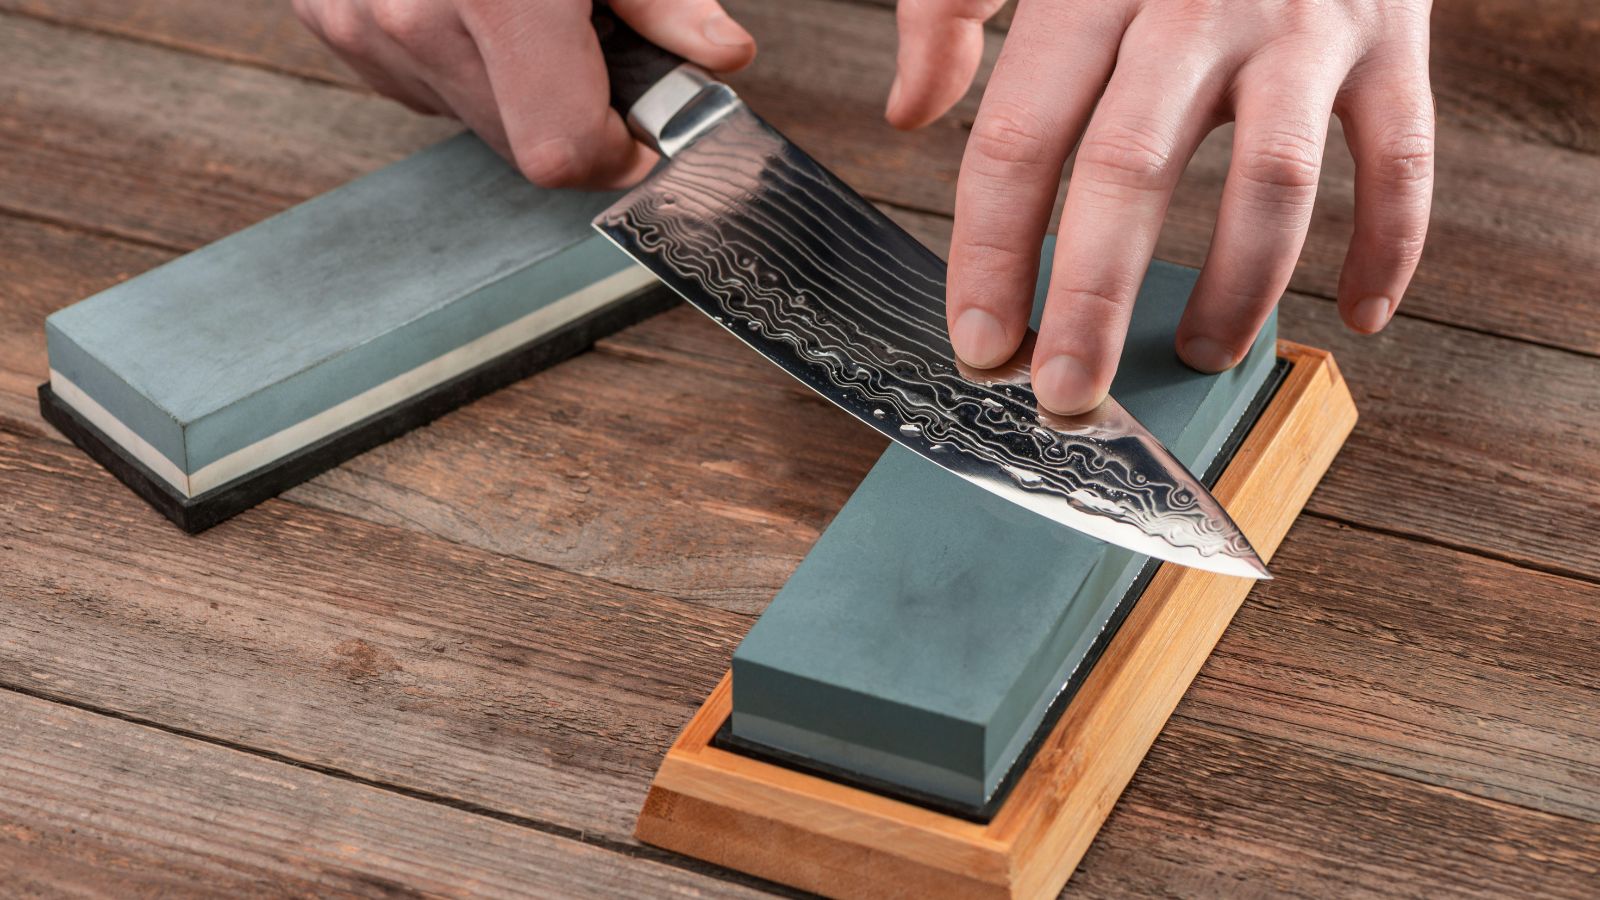
After letting your steak rest, it’s time to slice and serve it. To slice your steak, use a sharp knife and cut it against the grain. This will help to ensure that your steak is tender and easy to chew.
When serving your steak, consider pairing it with your favorite sides, such as roasted vegetables or a baked potato. You can also drizzle it with a flavorful sauce, such as chimichurri or béarnaise.
Conclusion:
Using a searing burner on a gas grill to perfectly sear a steak can be a bit intimidating, but with the right technique, it’s easy to achieve delicious results. By preheating your grill, seasoning your steak, searing it on the hottest part of the grill, finishing cooking it on a cooler part of the grill, letting it rest, and slicing and serving it, you can create a juicy, tender, and flavorful steak that will impress your guests and satisfy your taste buds.